Sunday, July 28, 2013

Peachy Keen Jewelry Box


I was hunting at the thrift shop for a fun way I can store my ribbon, and I came up to this little box! I have been wanting to come up with a fun way to store and display my collection of fun necklaces. It's been in the back of my mind to create something like this, and stumbling upon this was definitely a great motivator!

 I weaved May Arts Ribbon onto the box's back board. to create the fun checkered pattern. I then Modge Podged to seal.


 I used one of my favorite DCWV stacks, Peachy Keen, to line the sides and to embellish the box.


I added 3 hooks to hold my necklaces!


I just turned a $3 thrift store find into a fun necklace holder!

Thanks for stopping by!!

Friday, July 26, 2013

UnSquared!


Lately I have been in the mood to create cards different from your standard square and rectangular shapes! When a friends' daughter's 3rd birthday came up, nothing was more perfect that a princess card for a cute little princess! I don't have a crown in any of my Cricut Cartridges, so I had to crafty on how to do this. 


I found a Crown clip art online. I printed it to the size I wanted it to be, I used the printout as a template for my card. An exacto knife and 15 minutes later, I have my crown card!


This thank you card was no different! I found a Coffee Cup clip art and got my exacto knife out!


Birthday Card Supplies:
Bella Boulevard: Kiss Me
Basic Grey Alphas
Stuido 112 Bling
May Arts Ribbon
Embellishments: Target $1 Finds

Thanks a Latte Card Supplies:
DCWV Delightful Stack
Fiskars Stamp
May Arts Ribbon

Thursday, July 18, 2013

Nautical Baby Shower Cards!


It seems like it is baby season! I know so many people around me who are expecting! What is more fun the celebrating a new addition to a family than these Nautical Baby Cards!!


I wanted to create a fun boy card!

    And a fun girl card!!


I used a stencil that I traced out.

Supplies:
DCWV Summer Dream Stack
Solid Cardstock
May Arts' Ribbon
American Craft Thickers
Recollections Alphas
Buttons
I printed the Anchor Image from SpoonFlower.com

I will be entering this into Ribbon Carousel's Challenge: RCC83

Thanks for stopping by!

Tuesday, July 2, 2013

Ribbon Bridal Bouquet


I am honored to be a finalist for May Arts' Design team! When I got the great news, I racked my brain for the perfect entry! I have always wanted to create a bouquet of flowers out of ribbon, and so that definitely was my main idea. Then I thought, how fun would it be to create a Bridal Bouquet! 


Supplies:
Glue Gun
Floral Wire
Floral Tape
Pearls
Tulle (not pictured)
and of course, May Arts Ribbon!
C17 - 1.5" 
C19 - 1.5"
HA31 - 3/8"
KK09 - 2"


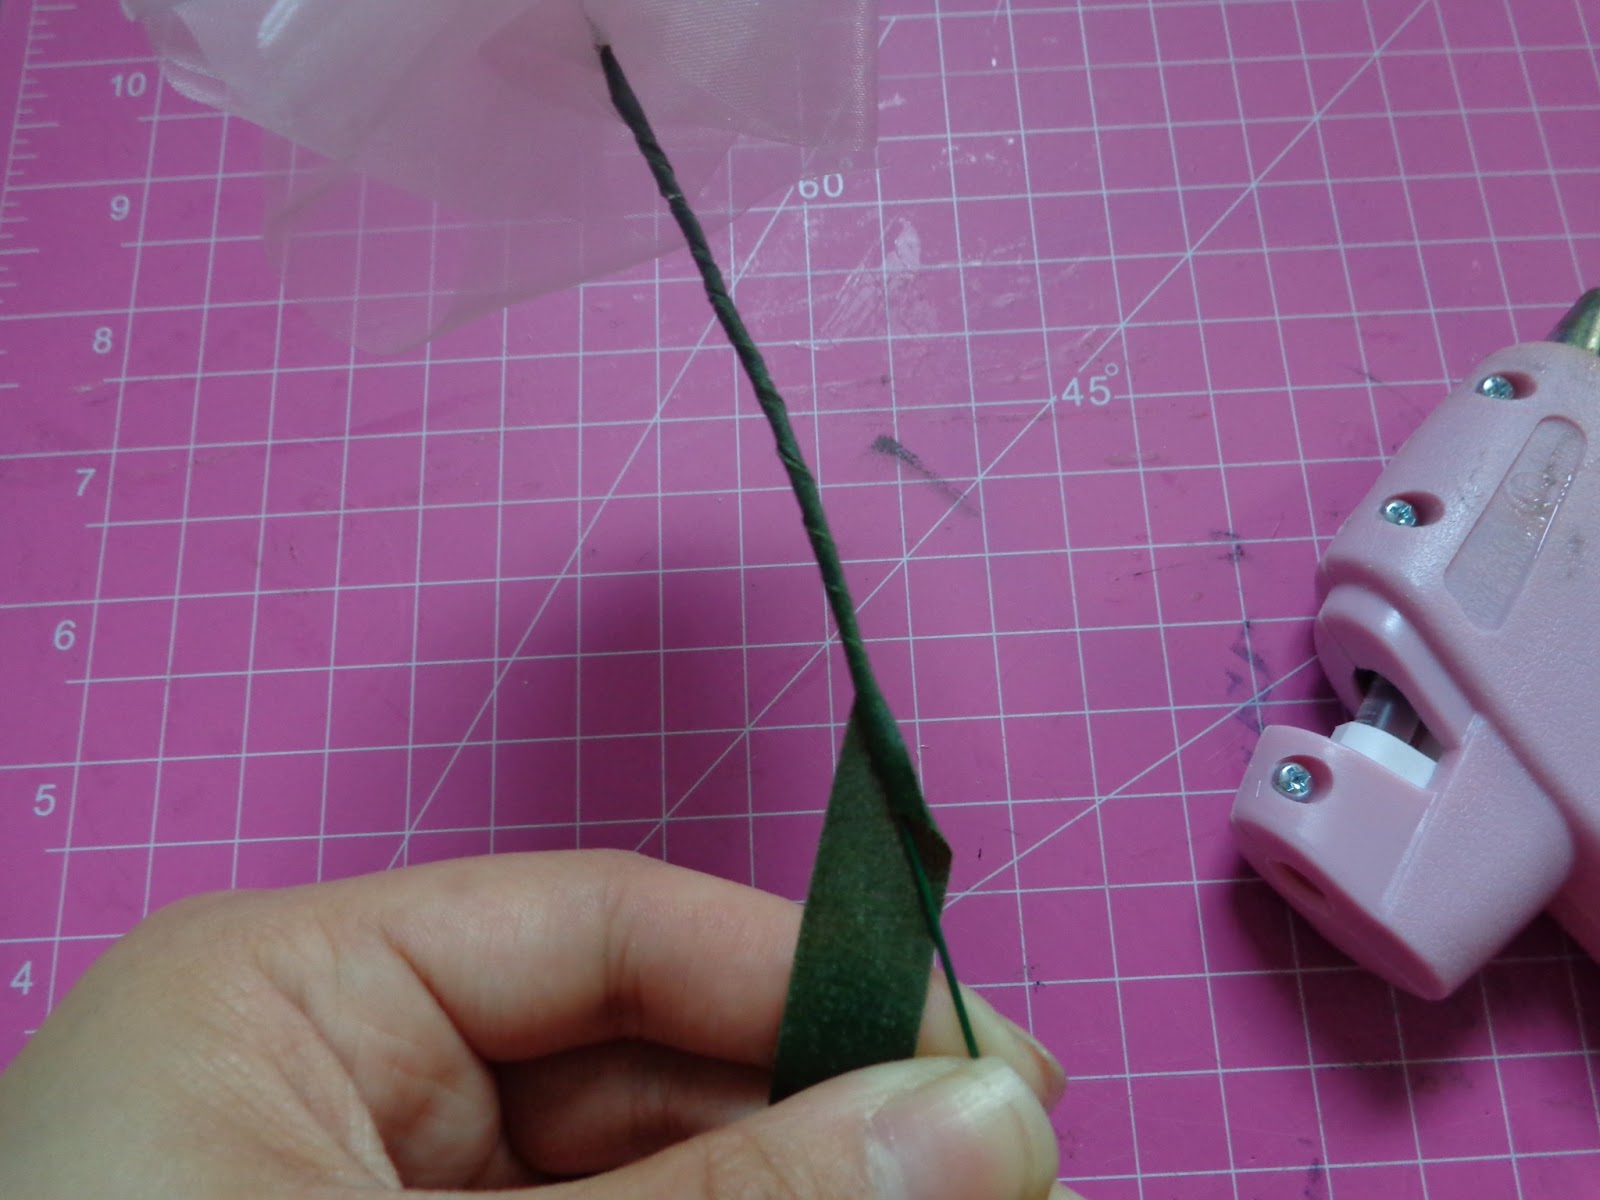
Place a tiny bit of glue on the tip of your floral wire.
Fold your ribbon in half around the wire
Roll your ribbon around the wire several times to create a sturdier base.


Continue to wrap your ribbon around the center, making sure to slightly twist the ribbon as you go.
Twisting the ribbon creates the look of petals. There is no specific way this needs to look, just keep in mind there is no two flowers that look exactly the same.
Make note, the more layers you create, the bigger your flower becomes.


Finish off by cutting your ribbon off and gluing the tip down.
Your flower is complete


Finish the flower off by wrapping the wire with floral tape.
Repeat until you have made your desired amounts of flowers. My bouquet has 25 roses.
Gather your flowers together to create your bouquet.
Wrap floral tape around your bouquet to keep it together.


Trim your wire to your desired length,
If you want to create a thicker stem, add more wire around it and wrap it with tape.


The next is the fun part! Decorating!
I wrapped tulle around the bouquet and wrapped ribbon around the stems.
I topped it off with embellishments!

Here are some final photos of my ribbon bridal bouquet!


Thanks for stopping by, and wish me luck!!